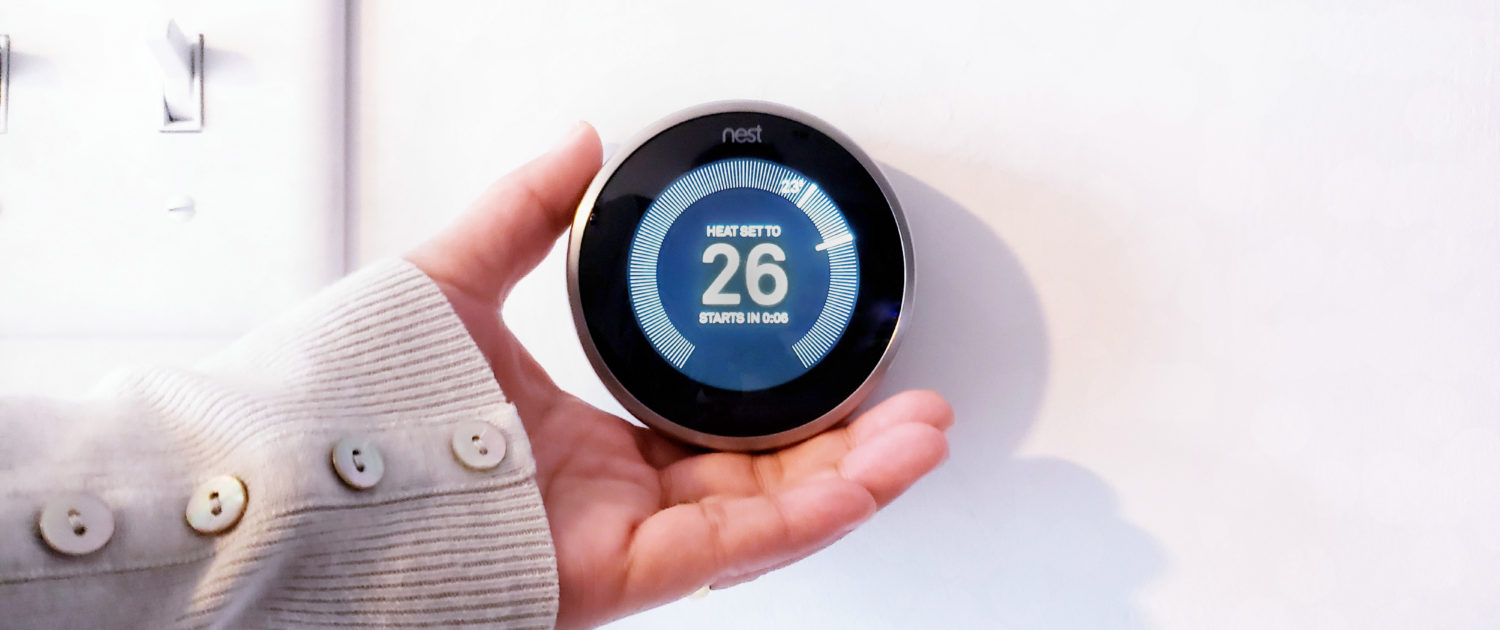
So, you’ve just gotten your new Nest thermostat, and you’re not sure where to go from here. Although it might seem intimidating, the Nest thermostat installation process isn’t all that hard! And just to make it easier, we’ve put together a list of instructions to help you get your new thermostat up and running.
Nest Thermostat Installation: Removing Old Thermostat
- Switch off the power on your breaker box. After turning off the switch from your breaker, you can test that it’s off by adjusting your thermostat to see if you notice a difference in air temperature. This is not a foolproof method, however; always be certain that there is no electricity running to the thermostat before handling any wires.
- Remove the thermostat cover. Although the process depends on your thermostat model, you’ll either be able to pop the cover off or unscrew the cover pretty easily. Some older thermostats might have a second plate that needs to be unscrewed as well.
Nest Thermostat Installation: Working with Wires
- Take a picture of your wire system. This will help you to keep track of where wires go as you install your new thermostat. You’ll want to get up close so you can clearly see each wire’s labels. Make sure to check Nest’s compatibility page to know exactly how your wiring fits.
- Remove any jumper wires. Jumper wires are small cables that run between connectors. The Nest Thermostat doesn’t need these, so get rid of these if you see any on your base.
- Label your wires. Your thermostat should come with small sticker labels that you can apply to your wires. These will help you to remember which wires go where once you install your Nest Thermostat.
- Remove your old thermostat base! Be careful with this step. It’s advised to get a pencil, pen, or something similar to wrap your wires around once you remove the base—this will save you the headache of potentially dropping your wires back inside the wall.
Nest Thermostat Installation: the Fun (and Final) Part
- Attach Nest Base. Mark the spot where you’ll insert your screws, pull the wires through the base, and screw it onto the wall!
- Connect wires to your Nest base. Your wires should be clearly labeled from the stickers you attached in step 2.3. Once connected, give each wire a light tug to make sure they’re tight and secured in place.
- Attach your display. This part is easy—all you need to do is push the display against the base until it clicks into place!
Turn Your Power Back On, Set Up the Display, and Start Saving Money on Your Energy Bill!
Having trouble setting up your Nest Thermostat? At WISE Home Solutions, we offer custom plans with multiple devices—all with free installation! Call us to see how we can help you install your Nest Thermostat and make your home even smarter.
General Disclaimer: WISE Security Solutions LLC does not guarantee expressly or implicitly, nor take on any legal responsibility and any responsibility about the correctness, the exhaustiveness or the usefulness of any information contained in the above article. We would advise you to check your local laws and consult professional electricians/contractors for any project involving electricity, construction, or assembly. The content of this article is for informational purposes only. By taking any information or education material from WISE Home Solutions, you assume all risks for the material covered. You agree to indemnify, hold harmless, and defend WISE Security Solutions LLC from any and all claims and damages as a result of any and all of the information covered.


